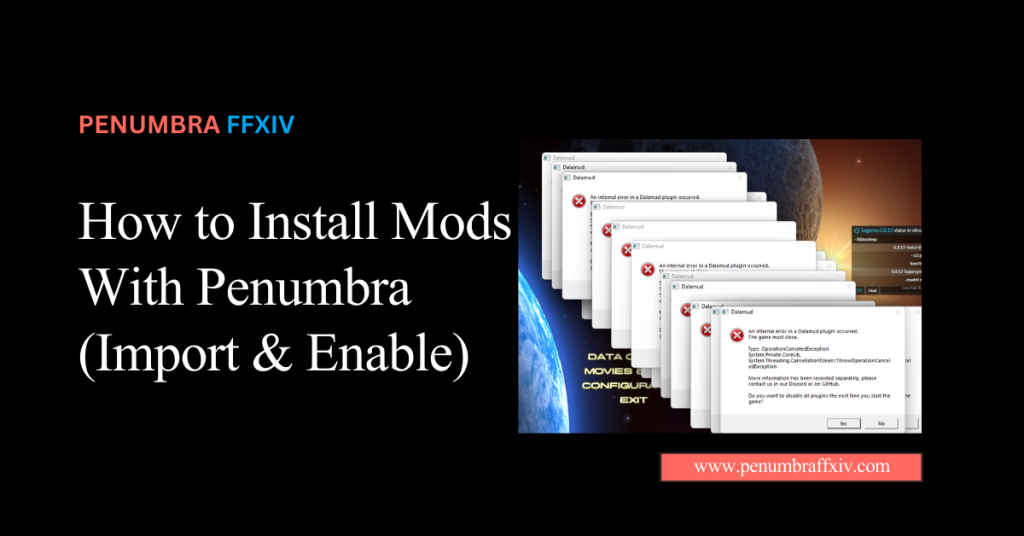
How to Install Mods With Penumbra (Import & Enable)
For any stylist, it’s exciting to get their favourite bespoke outfits and high-quality textures into the game. The technical aspect might sound scary, but the new redirection mechanism makes it easy to change your look without altering any game files.
This process lets you experiment with thousands of community assets, from armor upgrades to complete visual overhauls. By learning the correct way to Install Mods into your library, you ensure your game remains fast and stable even with heavy customizations.
With Penumbra FFXIV as your central hub, you will have total control over your digital wardrobe with just a few clicks. Let’s dive into the steps and get your character ready for their grand debut with a perfectly enabled mod collection!
What are the Essential Steps to Import Your First Mod?
The journey begins with bringing your downloaded files into the plugin environment so the game can recognize them. You will primarily use the “Import” button, which acts as a bridge between your PC folders and the game engine.
Most modern mods come in a specific “pmp” format that bundles all textures and data into a single neat package. Selecting these files from the menu starts the process of unpacking them into your dedicated mod library.
Import Tab for Single and Batch File Processing
Inside the main menu, look for the “Import” tab at the top to see options for adding your new assets. You can choose to bring in one outfit at a time or select an entire folder if you are doing a massive visual overhaul.
This batch feature is a huge time-saver for players who want to install entire mod gear sets at once. It keeps the process clean and ensures that every file lands exactly where the system needs it.
Files and Compressed Archives
Raw files are loose textures that give you the most control, while compressed archives are much easier to handle. Choosing the right format depends on whether you want to edit the mod yourself or just see it immediately.
Archives are generally safer for beginners because they prevent you from accidentally missing a small part of the outfit. They keep all the complex data tucked away in a single file that the plugin reads perfectly every time.
Choosing Your Files: Mod Formats and Their Loading Efficiency
Picking the right file type can actually speed up how fast your character loads when you teleport into a new zone. Some formats are optimized for speed, while others are better suited to high-quality detail and complex 3D shapes.
| Format Type | Loading Speed | Compatibility | Best Use Case |
| .pmp (Native) | Blazing Fast | High (Native) | High-definition armor sets |
| .ttmp2 (Legacy) | Moderate | Universal | Older community collections |
| Loose Files | Slowest | High (Dev Use) | Real-time texture testing |
| Compressed ZIP | Fast Extraction | High | Bulk downloading archives |
| Encrypted RAR | Slower | Variable | Large-scale world overhauls |
The Activation Workflow: Bringing Your Textures to Life
Once your files are imported, they will appear in the left-hand list, but they won’t be visible in the game just yet. You must manually “Enable” each mod by clicking the small checkbox next to its name in your library.
This lets you keep a huge library of outfits ready to go without using up your computer’s memory. It is a smart way to manage performance while still giving you hundreds of options for your next screenshot.
Enabling Mods and Assigning Priorities
- Locate your newly imported mod in the list and click the checkbox to turn it “On.”
- Set the “Priority” number higher for mods you want to see over others (like setting it to 10).
- Check the “Associated Items” list to make sure the plugin knows which gear piece to swap.
- Use the search bar to find specific mods quickly if your list becomes too long to scroll.
- Click the “Redraw” button if your character’s look doesn’t change instantly in the world.
Collection System for Different Character Profiles
The collection system lets you create multiple “themes” for your character, which you can switch between with a single click. You can have one set of mods for raiding and another for hanging out with friends in the city.
This keeps your setup organized and ensures you aren’t loading heavy textures when you need the highest frame rate. It’s the ultimate tool for players who like to change their aesthetic frequently throughout the day.
Advanced Organization: Grouping and Sorting Your Fashion Library
As your collection grows, you will want to use “Folders” within the plugin to keep your armor separate from hair and makeup. This keeps your workspace tidy and makes it much easier to find specific items you downloaded months ago.
Good organization also prevents “Conflict Errors,” where two mods try to change the same thing at the same time. By keeping your folders labeled clearly, you can spot overlaps before they cause any weird graphical flickering.
Clean and Efficient Mod Root Directory
- Create sub-folders for “Clothing” and “Body Models” to make sorting a breeze.
- Periodically delete the “Temporary” folder to clear out old data from deleted files.
- Always name your mods clearly so you know what they change without having to click them.
- Keep a backup of your settings file to avoid losing your custom folder structure.
Managing Overlapping Textures
Clipping happens when two different mods try to occupy the same space on your character’s body. You can fix this by adjusting the priority or by disabling the parts of the mod that are causing the overlap.
It takes a little bit of trial and error, but the result is a perfectly smooth look with no jagged edges. Keeping your textures in check is the mark of a pro who cares about the finer details of their style.
Balancing Your Looks: Interaction Between Global vs. Individual Mod Sets
Deciding who sees your mods is a big part of managing your game’s performance and visual impact. You can choose to apply a look to everyone in the world or keep it strictly for your own character.
| Feature | Global Mod Sets | Individual Character Sets |
| Visual Scope | Affects all players/NPCs | Affects only your character |
| Performance Impact | Higher (Multiple instances) | Lower (Single instance) |
| Conflict Risk | High (More overlaps) | Low (Specific to you) |
| Best Use Case | World textures & lighting | Custom armor & face sculpts |
| Priority Level | Base Layer | Override Layer |
Verification and Safety: Testing Your Enabled Mods In-Game
You should always take a brief “walk around” after enabling a mod to make sure everything looks good under different lighting conditions. It’s important to test because the game’s shadow system may not always work the same way with new textures.
If you notice a strange color or a glowing patch, you might need to adjust your lighting settings or the mod’s priority. A quick check ensures you look great in every cutscene and battle across the world.
Refreshing Your Character Model
The “Redraw” command is your best friend when you are testing out a long list of new gear. It forces the game to reload your character’s model instantly, applying all your enabled mods in a split second.
This saves you from having to log out and back in every time you want to try a new pair of boots. It makes the process fun and fast, allowing you to get instant feedback on your fashion choices.
Identifying and Fixing “Invisible Gear” Issues After Installation
If your character’s body or gear disappears, don’t worry it usually just means a file path is slightly off. Checking the “Log” tab will tell you exactly which texture the plugin is struggling to find in your folders.
Most of the time, simply re-importing the mod or checking the “Enable” box again will solve the problem. It’s a minor hurdle that is easily cleared once you know where to look for the error message.
Conclusion
Mastering the import and enablement process is the final step in becoming a true master of game customization. By following these simple steps, you have transformed your game into a personal fashion studio with no limits but your imagination.
Remember to keep your library organized and use the priority system to keep your textures looking crisp. You now have the power to swap outfits on the fly and keep your character looking their absolute best.
Stay creative, keep your file paths clean, and enjoy the incredible world of community-driven design. Your journey into the world of high-end visuals has officially begun, and the world has never looked more beautiful!
Frequently Asked Questions (FAQ)
How do I enable a mod once it is imported?
Simply find the mod in your list and click the small checkbox next to its name. If it is checked, the mod is active and visible; if unchecked, you will see the default game items.
Why is my character’s gear invisible after I enable a mod?
This usually means the mod is missing a file or was built for a different gear piece. Double-check that you are wearing the exact item the mod is meant to replace.
Can I import multiple mods at once?
Yes! You can select multiple files at once in the import window, or drag and drop an entire folder into the plugin. This is the fastest way to build a large library quickly.
What does the “Priority” setting actually do?
Priority determines which mod “wins” when two try to change the same item. A mod with a higher number will always show up instead of a mod with a lower one.
Do I need to restart my game to see new mods?
No, that is the best part! You can import and enable mods while standing in the game world, and they will appear as soon as you hit the “Redraw” button.
Is there a limit to how many mods I can have enabled?
There is no hard limit, but having too many high-resolution textures active can slow down your game. It is best to only enable the outfits you are currently using.
How do I delete a mod I no longer want?
Right-click the mod in your list, then select “Delete” from the menu. This removes it from your list and your hard drive, keeping your system clean.
Will other players see my enabled mods?
Normally, no; mods are only visible to you on your own screen. However, if you use a synchronization tool with friends, they can see that you look as if they also have the plugin.
Latest Posts: